

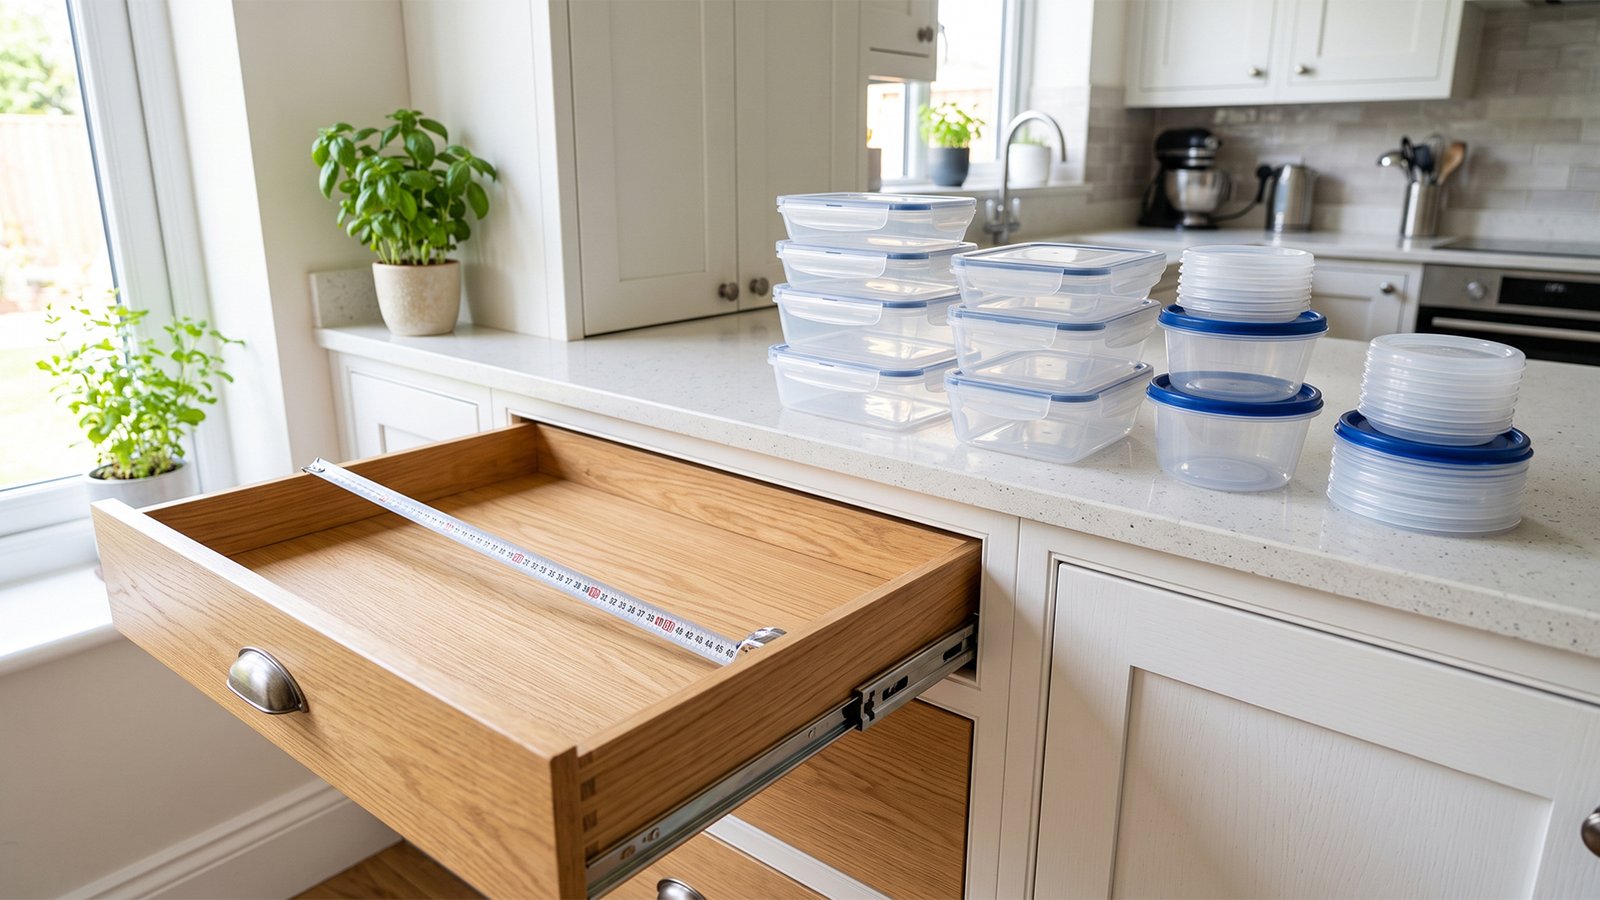
This outline guides the reader logically from early planning and precise measurement to material selection, hands-on construction, and troubleshooting. By integrating common user searches alongside core assembly steps, it covers both practical DIY execution and general kitchen organization strategies.
Table of Contents
Building custom DIY kitchen drawer dividers for Tupperware starts with clear planning before making a single wood cut. Taking the time to assess your space prevents frustrating misfits down the line. A systematic prep routine makes the actual assembly quick and seamless.
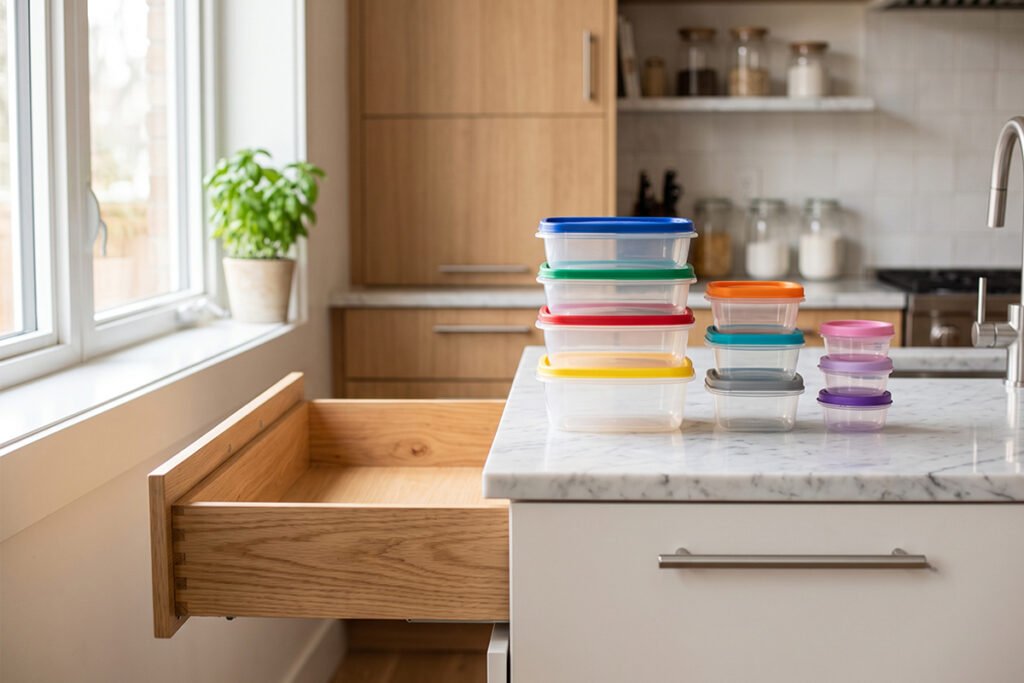
Empty the drawer and group your containers by size and shape
Start by pulling every single piece out of your deep drawer until it is completely bare. Clean out any hidden crumbs or debris so you have a pristine workspace to evaluate.
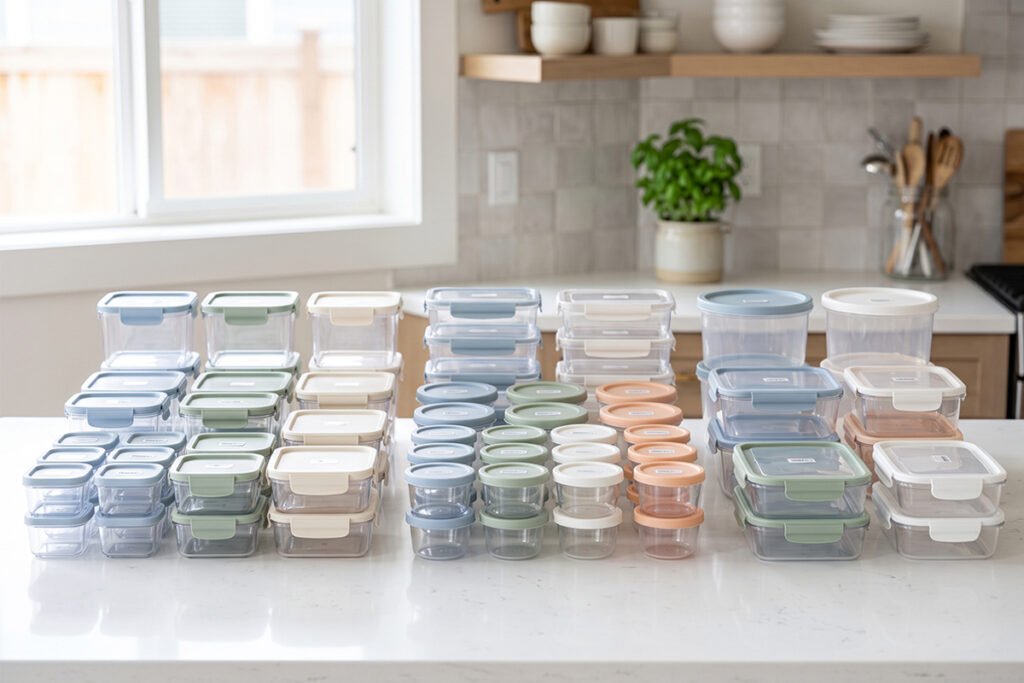
Next, group your food containers into clean, uniform stacks based on their matching bases and lids. Separating round bases from rectangular ones helps you visualize exactly how many slots your custom insert will require.
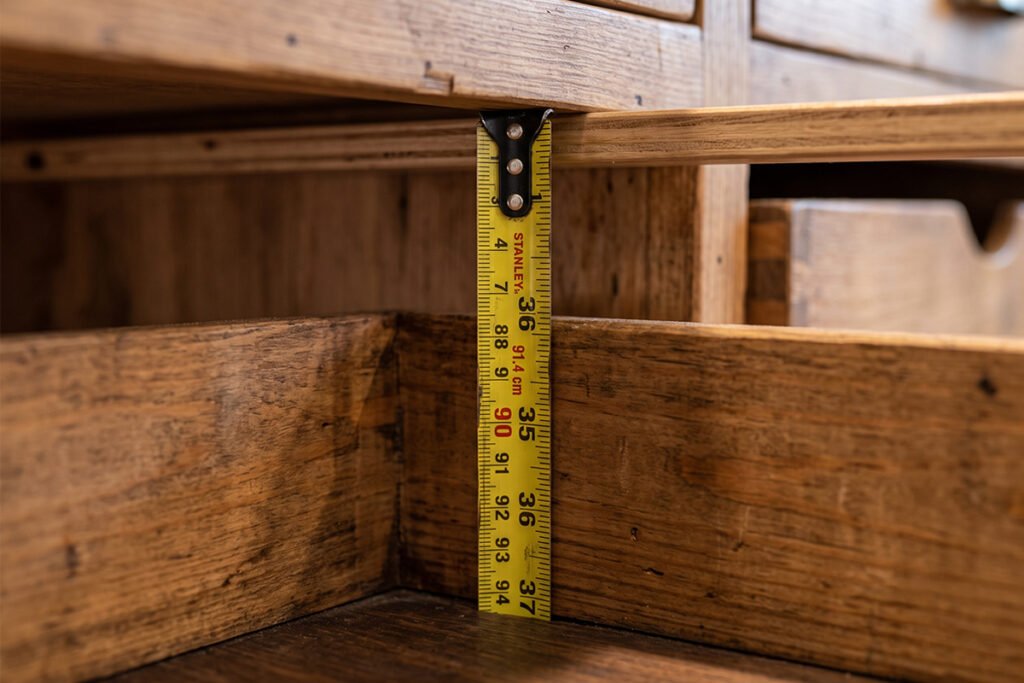
Measure the internal width, length, and height of the deep drawer
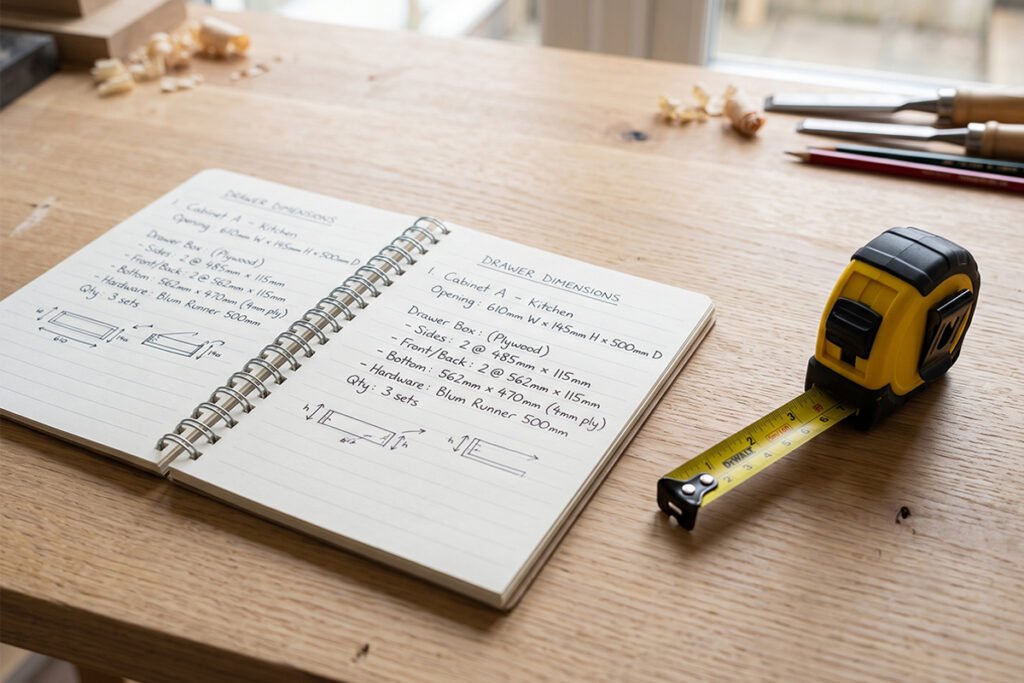
Grab a reliable measuring tape and record the exact dimensions inside your drawer frame. Write down the precise width, depth from front to back, and available vertical clearance.
Pay special attention to overall drawer height so your new dividers do not catch on the upper cabinet frame. Deduct about an eighth of an inch from your final cuts to guarantee smooth insertion and removal.
Selecting Your Materials and Tools
Choosing the right materials ensures your DIY kitchen drawer dividers for Tupperware remain durable and attractive over time. Lightweight lumber keeps your drawers easy to pull without adding unnecessary weight.
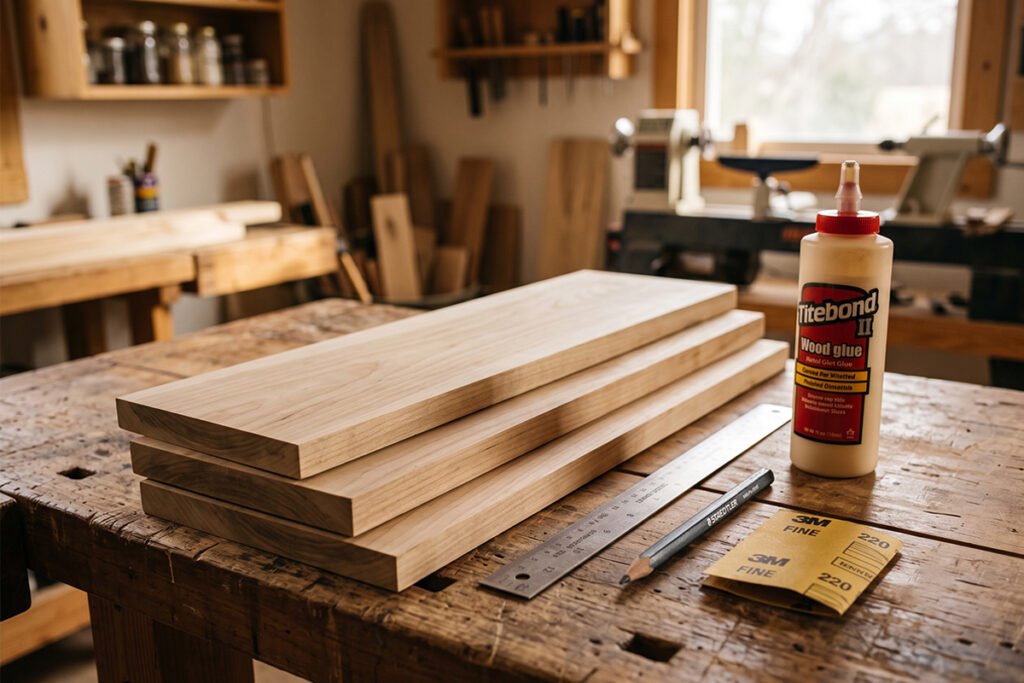
1/4″ or 1/2″ Poplar/Plywood Boards
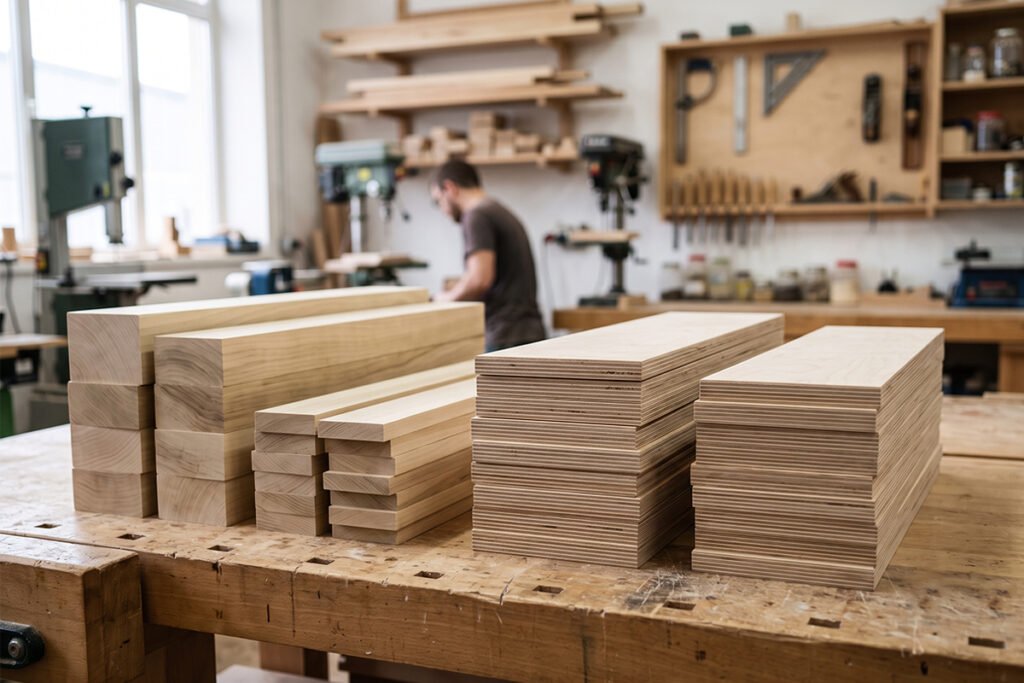
Thin poplar boards are ideal for custom drawer partitions because they resist warping while staying light. You can also opt for craft plywood if you want a budget-friendly option that is easy to cut.
resist warping while staying light
Selecting a 1/4 inch thickness maximizes internal cabinet room so you fit more food containers. If you need rigid support for heavy glass items, 1/2 inch boards provide extra strength.
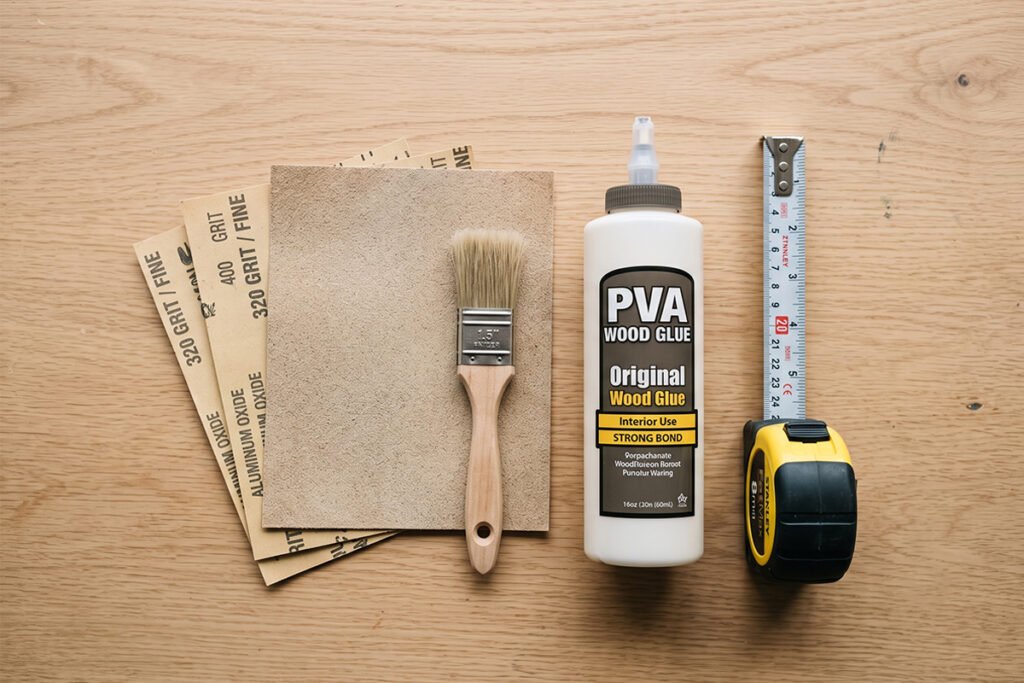
Essential assembly items: Wood glue, measuring tape, and sandpaper
Assembling custom dividers requires basic supplies that most home improvers already own. A bottle of strong wood glue bonds the grid joints securely without requiring complex hardware or long screws.
Smooth out rough cut edges using medium-grit sandpaper to prevent splintering your plastic items. Keeping your trusty measuring tape nearby ensures every piece aligns perfectly during construction.
Step-by-Step Instructions to Build Your Dividers
Following a methodical build process turns raw lumber into sleek, organized inserts. Take your time during each stage to ensure your custom inserts fit like a charm.
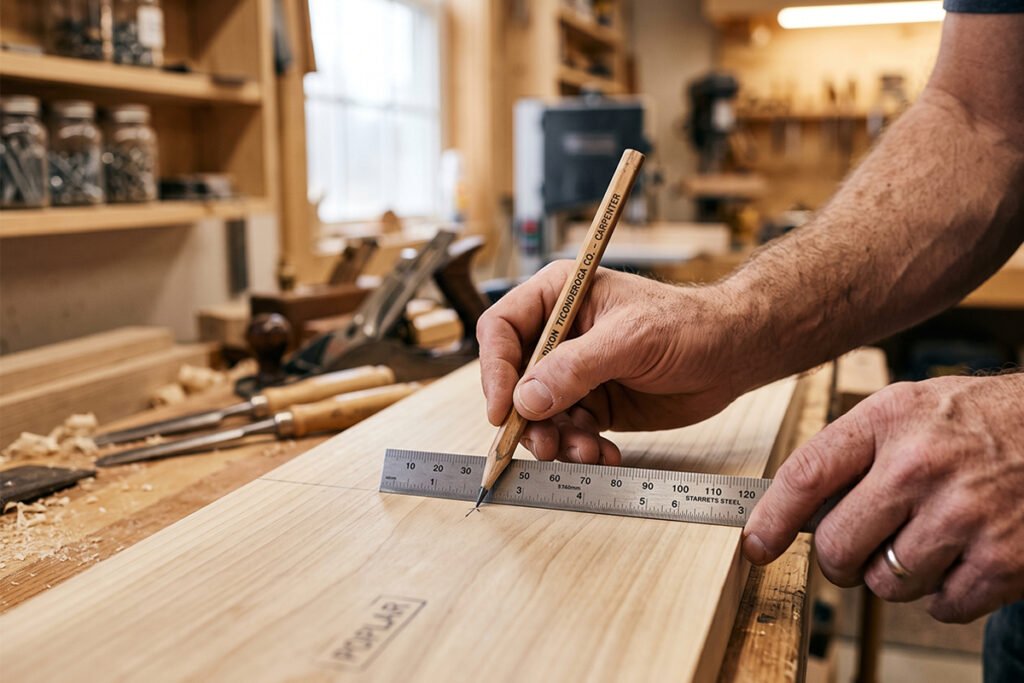
Measure the Drawer and Note The Dimensions
Double-check your initial figures before making any marks on your project wood. Record both the inner perimeter dimensions and the maximum allowed drawer height on paper.
Leave a tiny clearance gap along the length so the grid slides into position smoothly. Accurate recording at this stage prevents frustrating recuts later when testing your layout.
Group Your Tupperware by What Brand or Style You Use
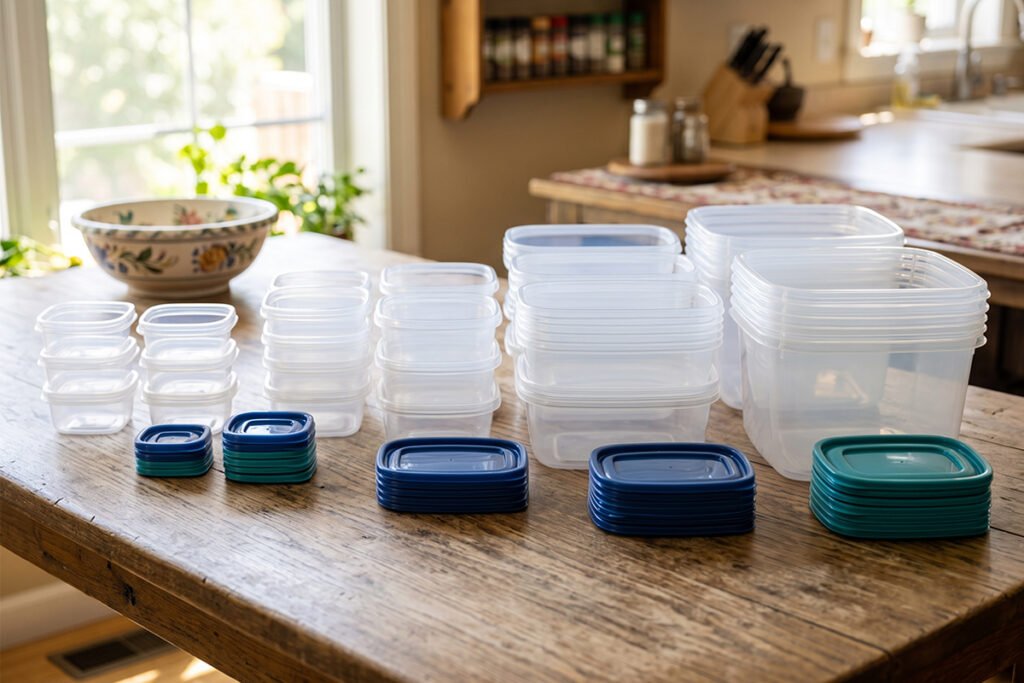
Arrange your sets by brand or container size to design optimal grid slot widths. Stacking rectangular bases separately from circular bowls helps optimize available surface space.
Designate specific zones for mismatched lids so they do not clutter the container areas. This step establishes your layout template before making final timber cuts.
Cut the Divider Boards to Fit
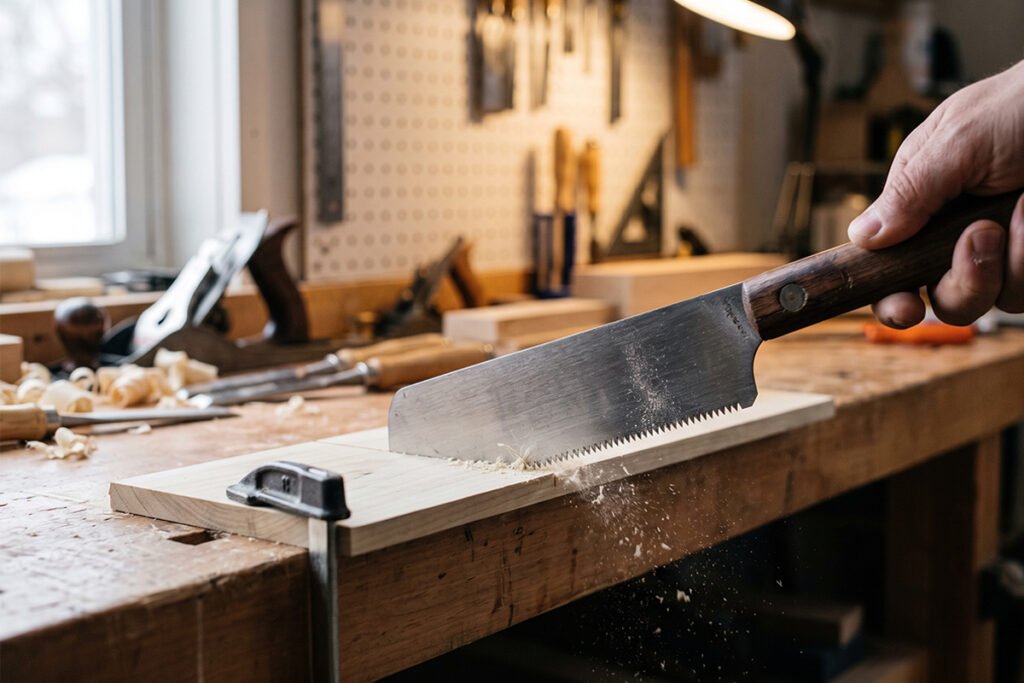
Use a hand saw or miter saw to trim your poplar boards to your specified lengths. Take slow, steady strokes to maintain straight, square edges across all your partition cuts.
Lightly smooth down freshly trimmed ends with fine-grit sandpaper after completing every cut. Cleaning up the edges early ensures tight, clean joints during final grid assembly.
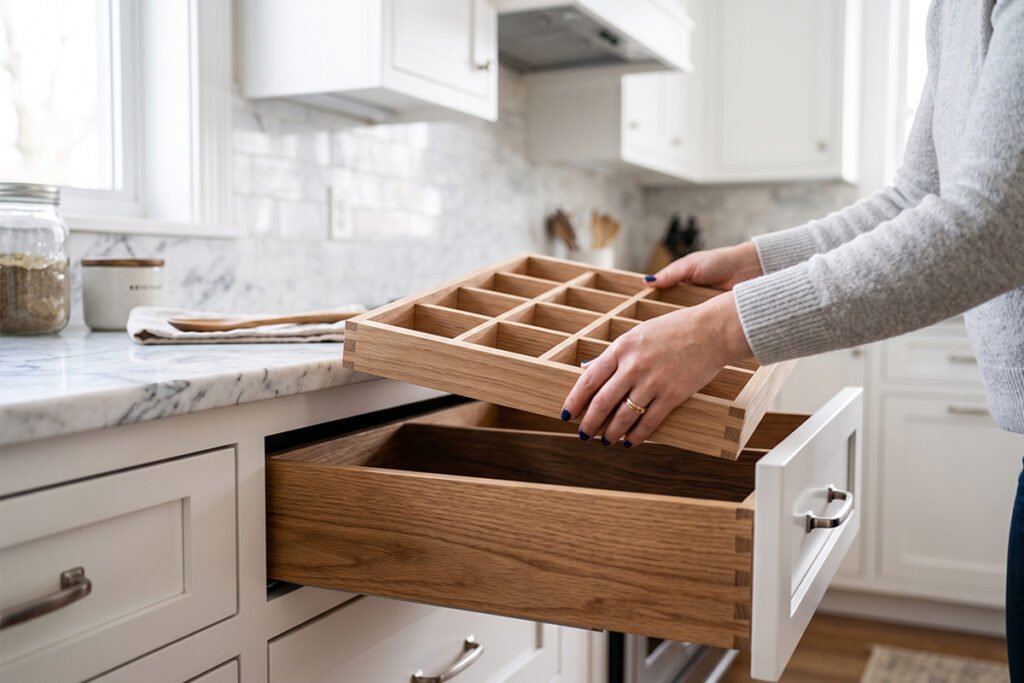
Assemble or Position the Grid Layout
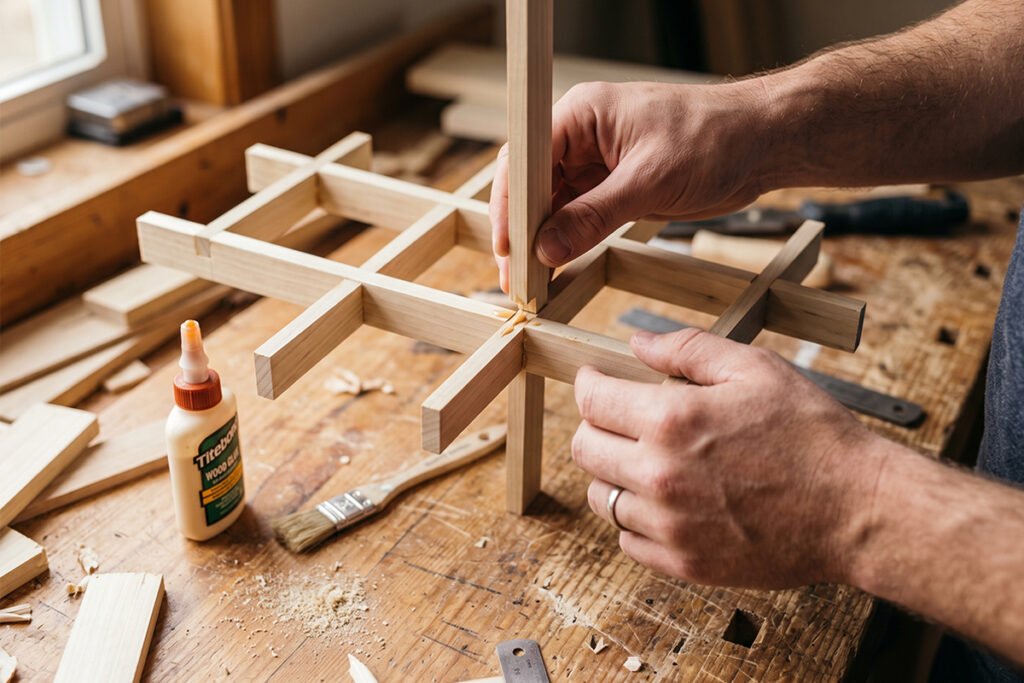
Interlock your cut pieces using simple half-lap slots or straightforward butt joints sealed with wood glue. Press the joints together firmly and wipe away any excess adhesive using a damp cloth.
Let the assembled wooden grid cure completely on a flat surface before inserting it. Proper drying time guarantees your custom frame stays rigid during daily kitchen use.
Test Fit the Custom Inserts
Lower the fully dried wooden grid gently into your open deep drawer frame. Check along the interior walls to confirm the insert sits level without tight binding or wide gaps.
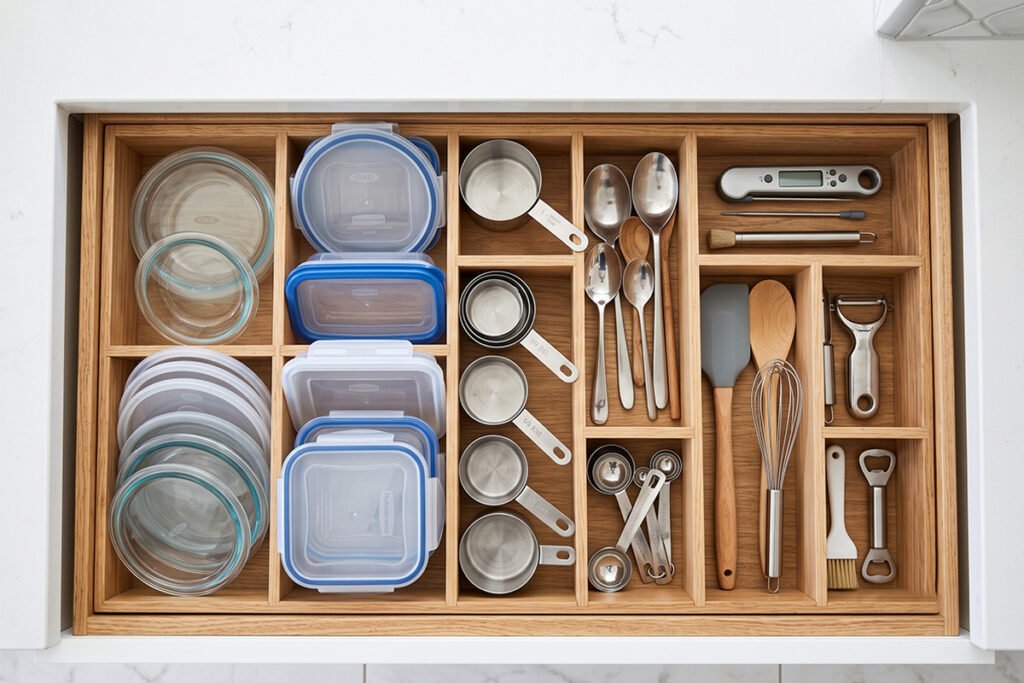
Place your organized container stacks into their dedicated compartments to evaluate the spacing. Adjust individual dividers if any container feels cramped or loosely supported.
Frequently Asked Questions & Common Alternatives
Exploring alternative ideas helps you tailor organizational projects to your exact budget and skill level. Simple tweaks allow anyone to achieve a neat kitchen storage system quickly.
How can I make my own drawer dividers for my kitchen?
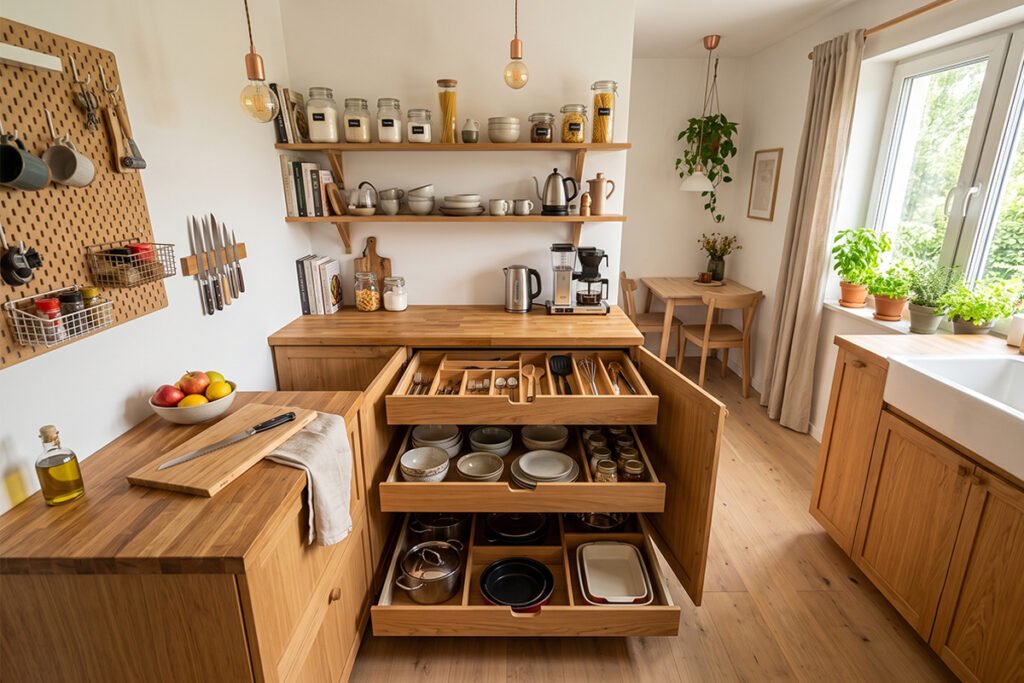
Making your own organizational inserts is simple when using affordable wood strips or sheet material. Measure your drawer interior carefully, cut matching slots into thin boards, and interlock them cleanly.
Applying simple DIY kitchen drawer dividers for Tupperware transforms chaotic deep drawers into tidy storage bays. Custom frames keep every lid upright and every bowl easy to reach.
What are some alternatives to drawer dividers?
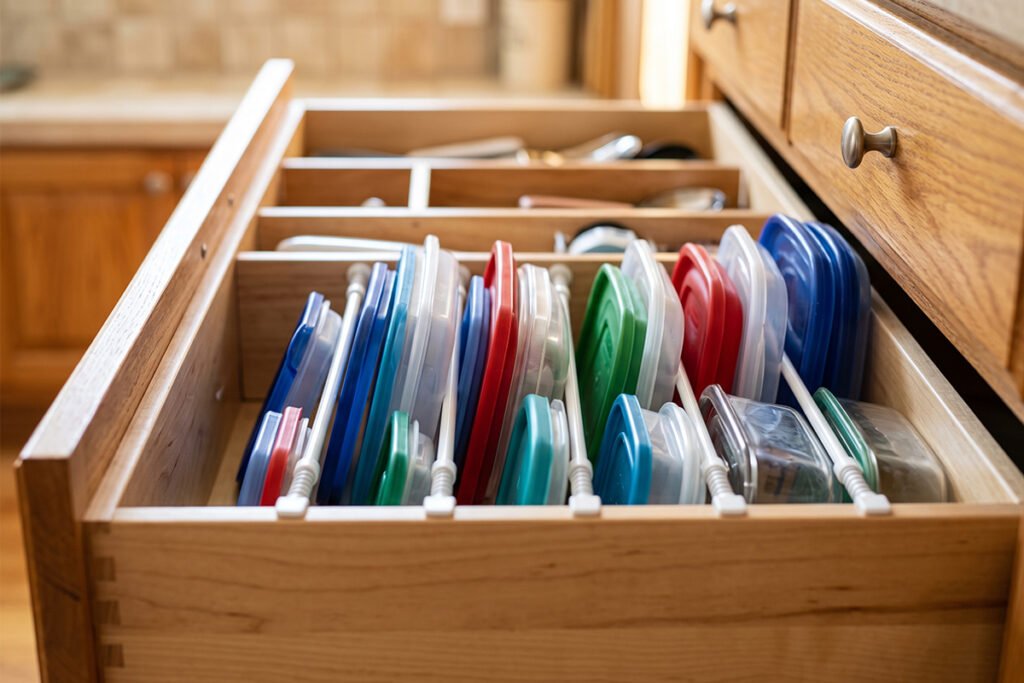
If cutting wood is not an option, tension rods offer a fast way to separate plastic lids. Small tension rods create instant vertical channels across deep cabinet drawers without tools.
Inexpensive spring-loaded expandable inserts also create temporary lanes inside your cabinets. These flexible solutions work well for renters who need non-permanent organizers.
How to make homemade dividers or a DIY crate divider?
Upcycling sturdy cardboard or foam board is an excellent low-cost way to craft homemade partitions. Cut strips to size, wrap them in decorative contact paper, and join them with hot glue.
You can also adapt wooden crates by adding internal craft plywood strips for rustic storage bays. Wooden crates keep heavy items locked in place inside large pantries or low drawers.
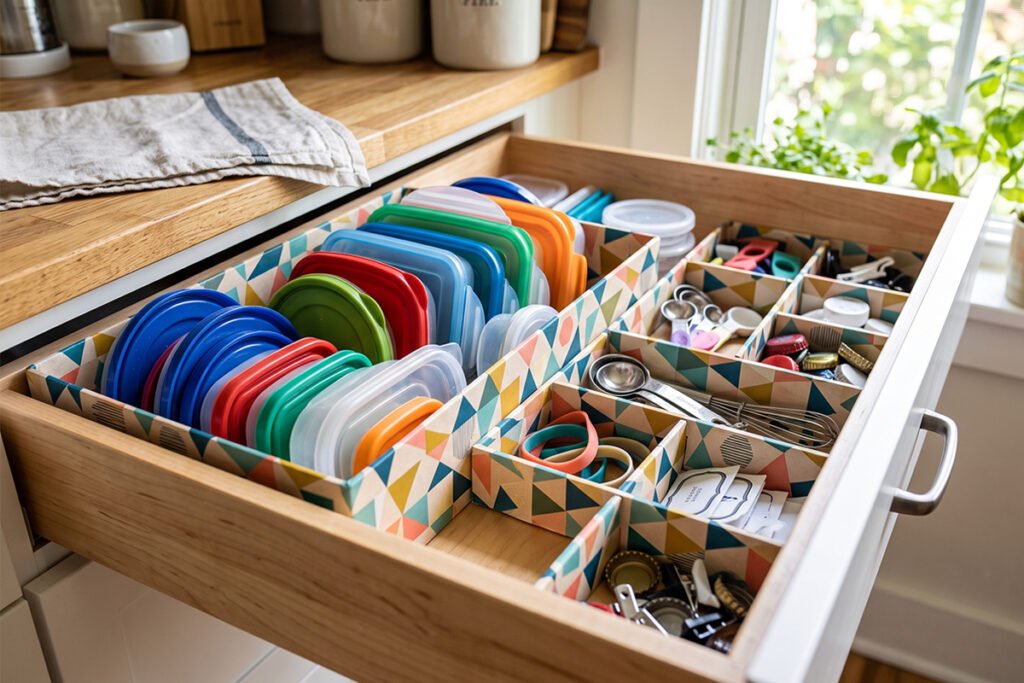
How to make tray dividers for shallow spaces?
Shallow drawers benefit from short interlocking strips made of thin balsa wood or heavy plastic. Keep your overall partition height low so items do not jam against the frame.
Lay rectangular shallow tray inserts side-by-side to corral smaller lids and soft silicone covers. Modular trays let you rearrange compartments whenever your container set changes.
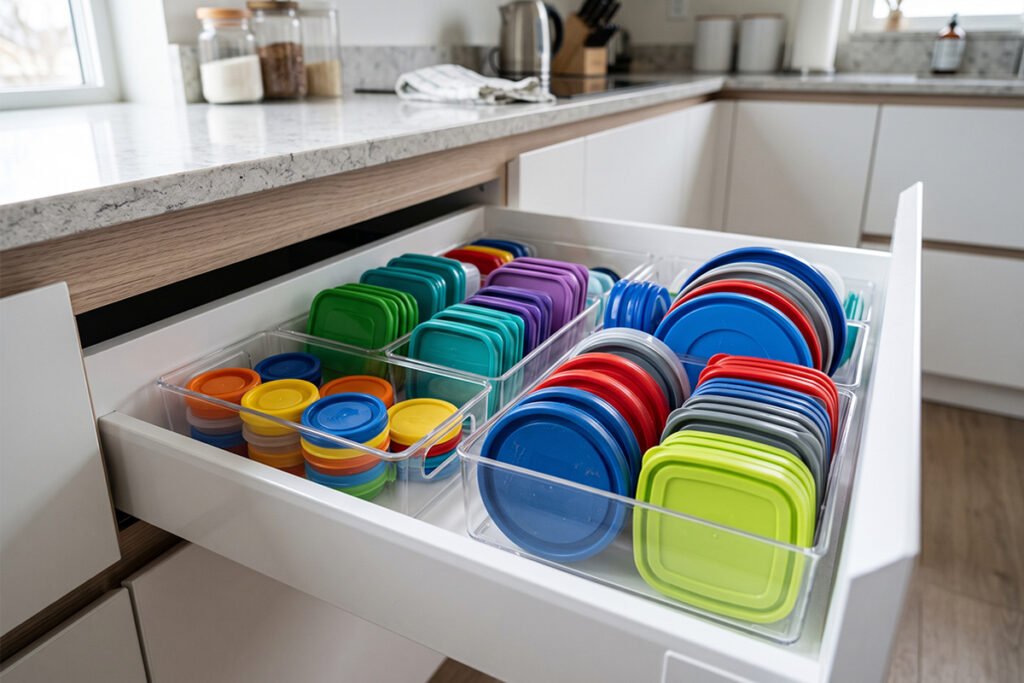
How can I make a DIY food container divider on a budget?
Repurposing basic household supplies keeps your spending minimal while ending cabinet clutter. Plastic cereal boxes cut down to size make lightweight bays inside deep drawers.
Tired of the Tupperware Lid Avalanche?
Discover the simple drawer layout trick that keeps every container lid stacked neatly and instantly accessible—no more missing matches.
Pairing small cardboard boxes together creates inexpensive compartments tailored to hold odd shapes. Budget builds deliver immediate organization while you prepare for a permanent wood build.
Does Dollar Tree have drawer organizers?
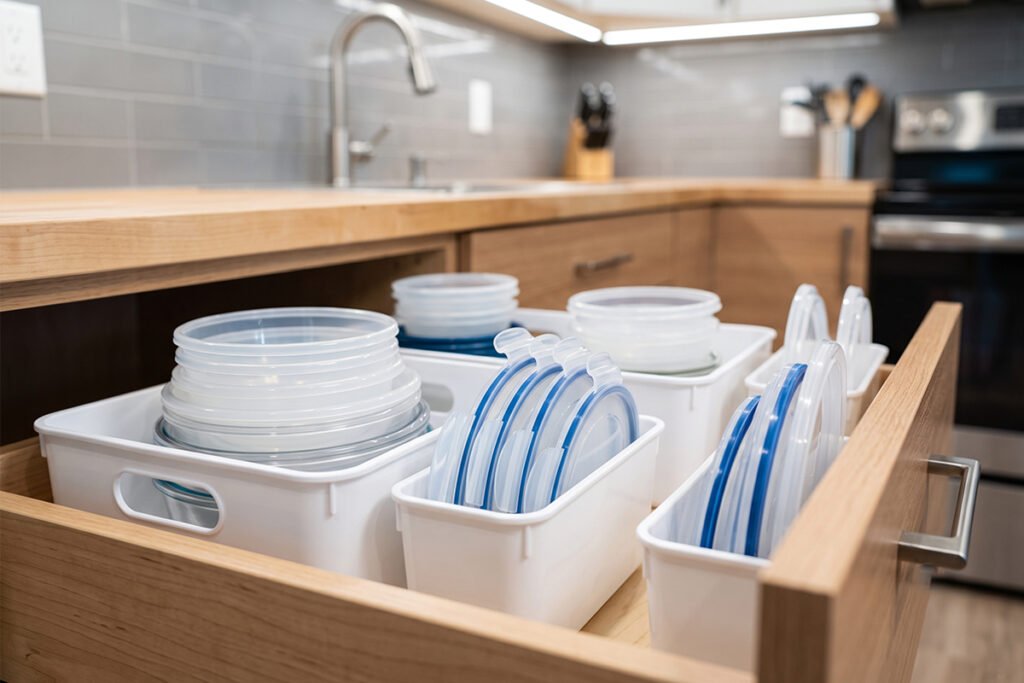
Discount stores like Dollar Tree offer budget-friendly plastic baskets and modular drawer trays. These inexpensive items serve as great dollar tree alternatives to custom carpentry builds.
While store-bought bins might leave unused gaps, grouping several bins creates functional zones. They provide a quick storage solution for organized food containers on a tight budget.
What are some common drawer divider mistakes to avoid?
A frequent error is forgetting to measure total height, which prevents drawers from closing cleanly. Always measure vertical clearance while accounting for elevated container lids.
Another common slip is gluing dividers directly to the cabinet interior instead of building a removable grid. Removable frames make cleaning up accidental food spills quick and painless.
What are some unique drawer organizer ideas?
Try setting metal dish drying racks inside wide drawers to hold plastic lids vertically like vinyl records. Wire racks keep matching lids lined up nicely next to their proper bowls.
Pegboard inserts with movable wooden pegs also create customizable layout barriers. Simply shift the pegs whenever you acquire new sets of food containers.
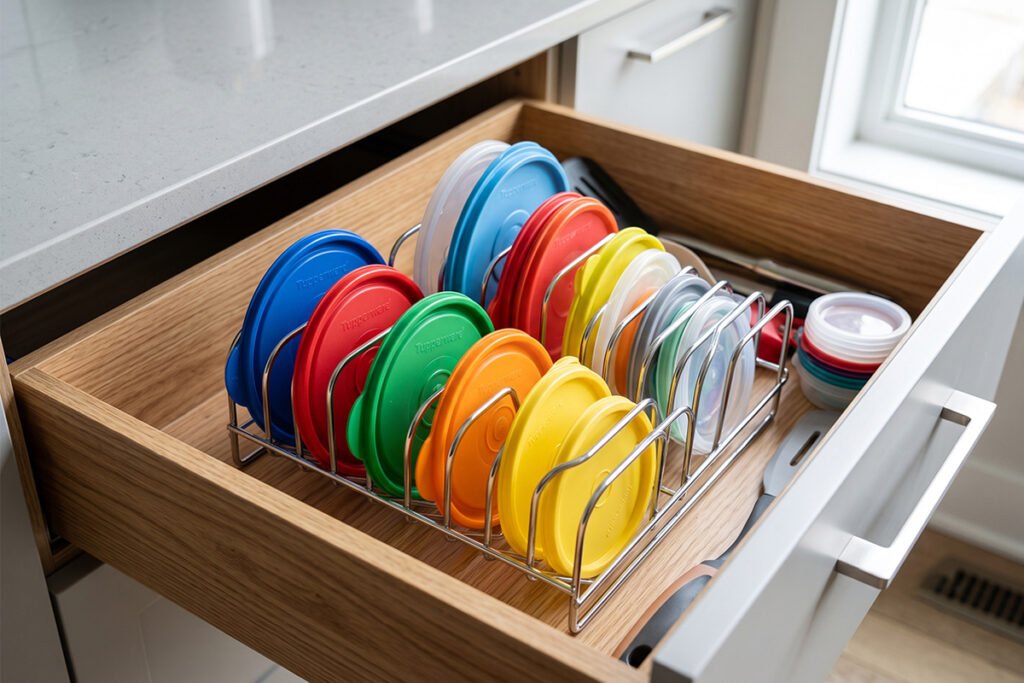
What are the best drawer dividers available online?
Adjustable bamboo dividers with spring-loaded ends are top-rated online picks for modern kitchens. They expand instantly to fit standard cabinet frames without any cutting or assembly.
Heavy-duty clear acrylic dividers provide a sleek look that makes items easy to spot. High-end clear inserts offer a clean finish while keeping container sections tidy.
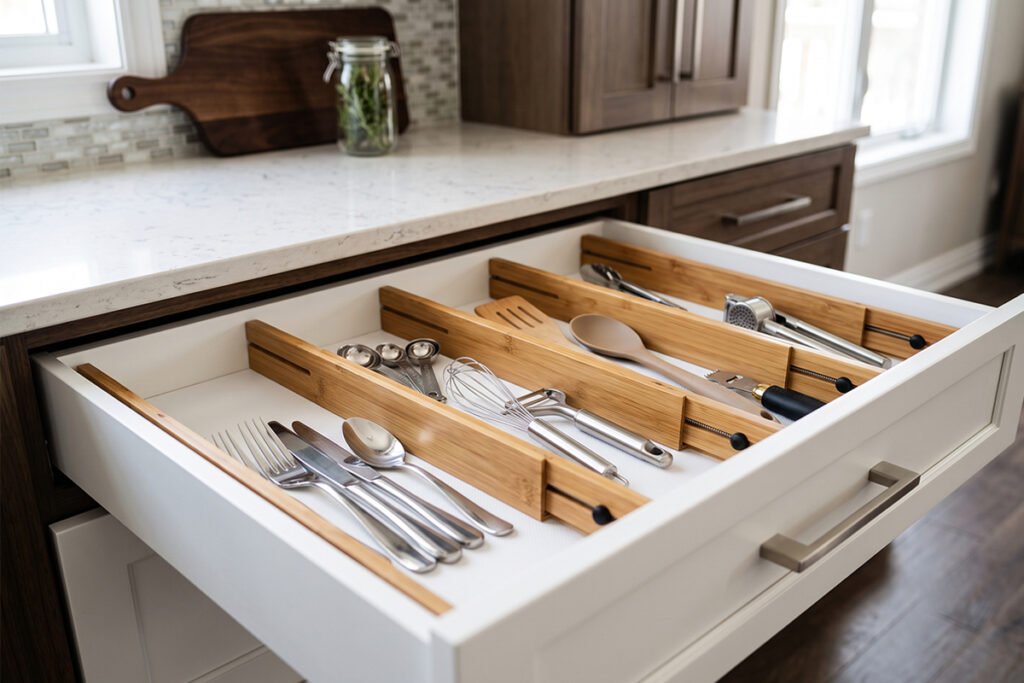
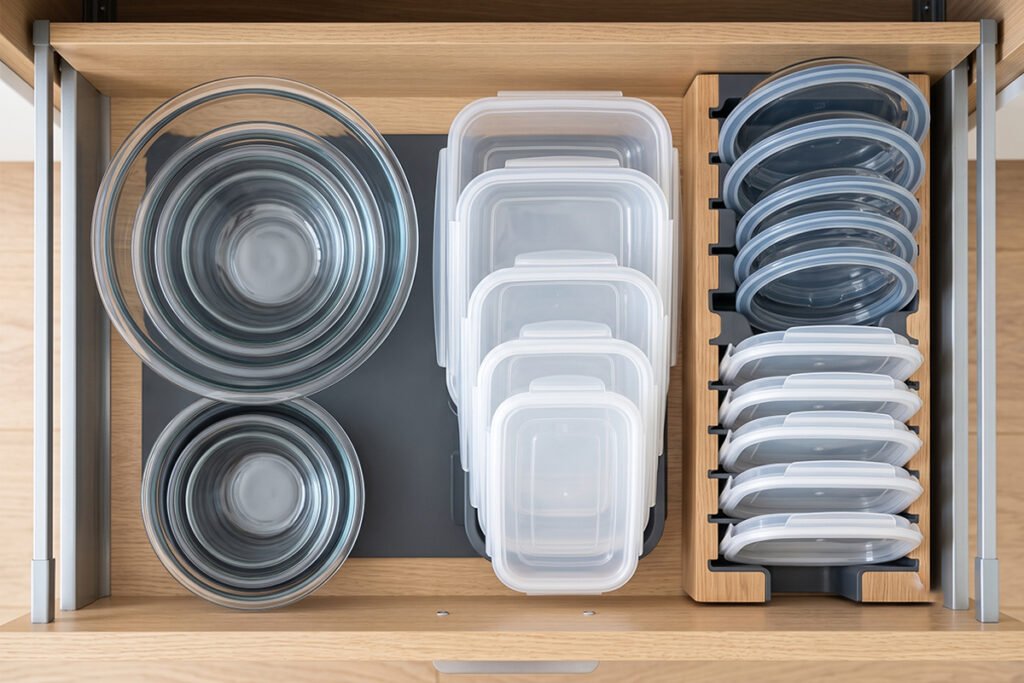
How to organize food containers in drawers efficiently?
Efficiency relies on nesting identical container bodies inside one another to conserve vertical space. Stack bases by shape while storing all corresponding lids in an adjacent slot.
Keep frequently used lunch boxes near the front of the drawer for easy access on busy mornings. Reserve rear compartments for large storage containers used only on holidays.
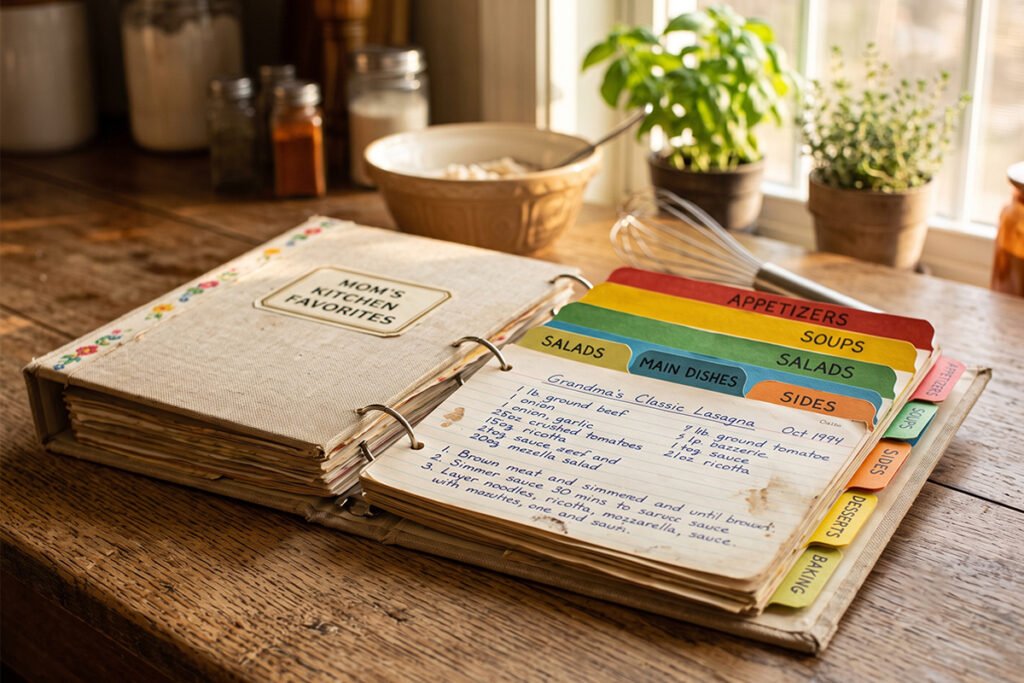
Bonus tips: How to make a homemade binder divider for recipe cards
Extend your home organization projects into the pantry using custom card stock dividers. Cut heavy index sheets, attach labeled tab stickers, and punch holes for a three-ring binder.
Use clear plastic sheet sleeves to shield your printed recipe cards from kitchen splatters. Organized binder tabs let you find dinner recipes as quickly as your container lids.
Top Recommended Kitchen Drawer Organizers to Buy
- Spring-Loaded Bamboo Drawer Dividers: Natural wood inserts featuring expandable tension ends for instant tool-free installation.
- Adjustable Deep Drawer Pegboard System: Customizable base plate with movable wooden pegs to lock food containers in place.
- Clear Acrylic Plastic Storage Bins: Modular transparent boxes perfect for sorting small lids, caps, and loose storage accessories.
- Expandable Metal Lid Organizer Rack: Heavy-duty wire holder designed to display container covers upright for easy identification.
- Flexible Plastic Interlocking Grid Strips: Snap-together partition bands easily trimmed with scissors for custom compartment sizing.
Conclusion
Taking control of your kitchen storage layout does not require expensive remodels or professional carpentry skills. Building custom DIY kitchen drawer dividers for Tupperware gives you a personalized workspace tailored precisely to your cooking equipment. With basic supplies like poplar boards and wood glue, you can permanently solve cabinet clutter in a single afternoon. Start measuring your space today and enjoy the peace of mind that comes with a perfectly organized kitchen.
Leave a Reply